Creating a Droplet
Prerequisites
Before continuing with any of the following steps, make sure to create an account on DigitalOcean
Creating a New Project
After creating an account, login and head over to the dashboard. From here, in the top left of the page, click the “New Project” button as seen below:
 |
|---|
Fill out the necessary fields, and in the “move resources into …” window, click “skip this step” at the bottom to move on since the droplet is being made from scratch.
Creating a New Droplet
To Start
After creating a new project, click on the project’s name in the top left of the page under the “Projects” dropdown. This will take you to the project’s dashboard. From here, go ahead and click the “Create” dropdown button in the top menu bar on the project’s dashboard page as seen below:
 |
|---|
From here, select the “Droplets” option to continue:
 |
|---|
This will take you to the specifications portion of creating the droplet, where you’ll select your Region, Datacenter, Image, Size, CPU Options, Additional Storage, and Authentication Method.
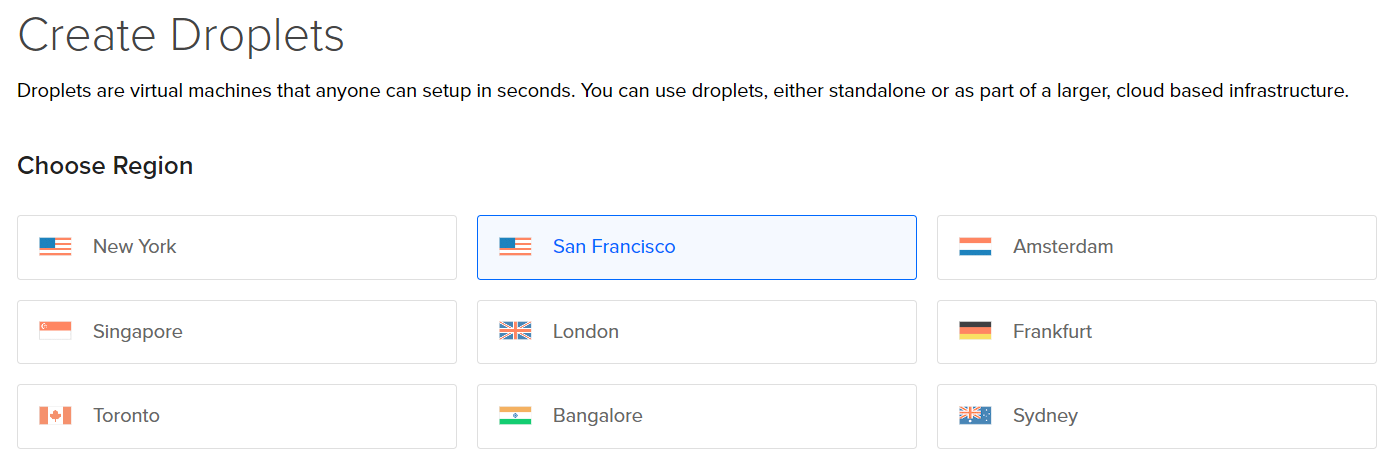
Region
Selecting a region is purely preference, but for optimal performance it is safe to pick the region closest to where the devices are that the applications on the Droplet will be talking to. Selecting a region looks similar to the following image:
 |
|---|
Datacenter
Once a region for the Droplet is selected, go ahead and select a datacenter as seen below:
 |
|---|
*Note: It is recommended to choose a datacenter that is close to you or to the application on the Droplet’s users.
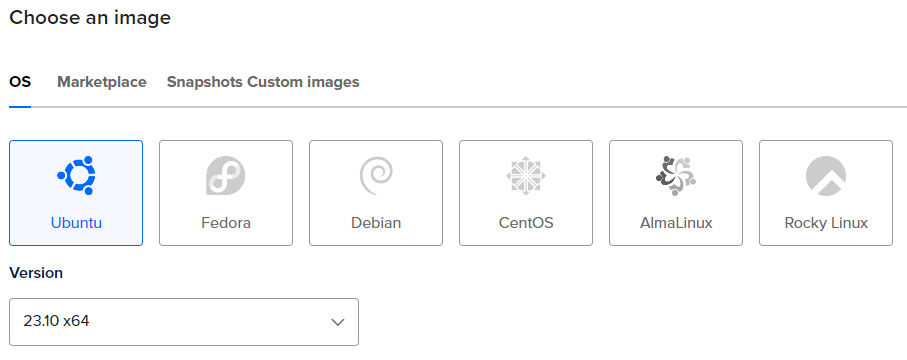
Image
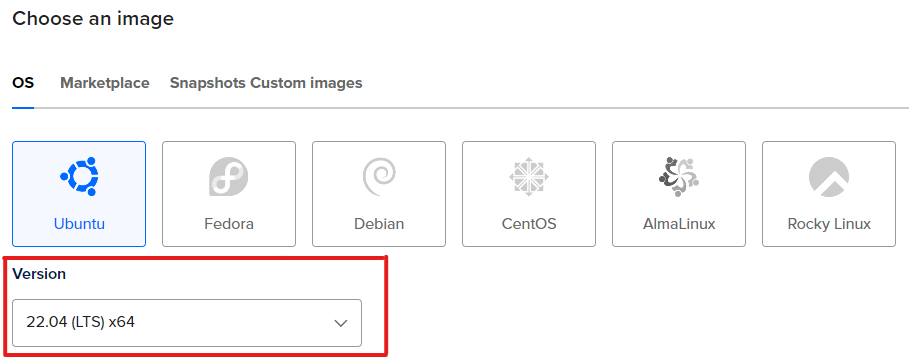
Moving forward, select the disk image that you want to use. There are plenty of options, but the standard image to use is a Linux Ubuntu image as they are the most convenient for server-side development. The selection section will look like the following:
 |
|---|
Though the newest version of Ubuntu (23.10 x64) is available on DigitalOcean, it is recommended to use Ubuntu 20.04 x64 as it is the version that currently has long term support (LTS). You can change the version using the dropdown pictured below:
 |
|---|
Size
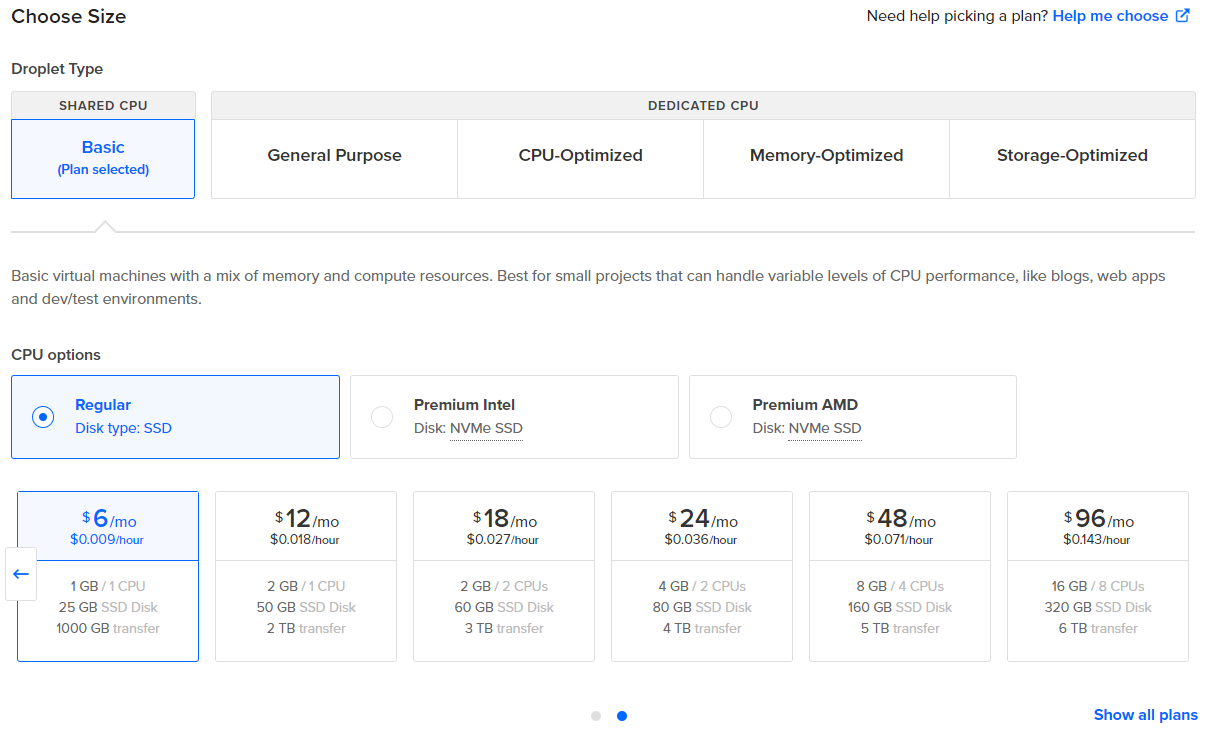
The next specification to choose is the size, which includes the Droplet type and the CPU options. It is simpler to stick with the basic options for now, but you may change the type of droplet and increase memory as needed. The recommended options for a basic Droplet are shown below:
 |
|---|
*Note: The size of the Droplet can be increased after creation, but the size can not be decreased.
Additional Storage and Authentication Method
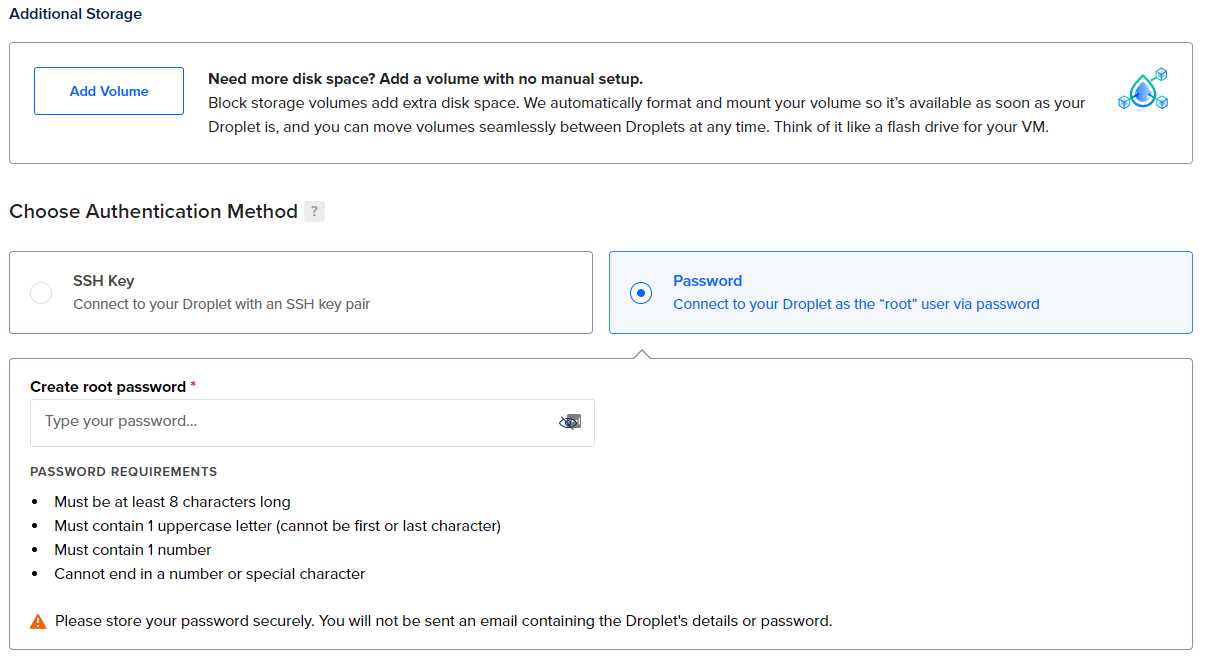
After choosing the size of the Droplet, it is time to decide on the addition of extra volumes and the authentication method of the Droplet. Adding additional volumes is optional, however it is recommended in the event that the applications one plans to host on the droplet and their data are expected to need to be relocated later on.
On the other hand, it is required to select an authentication method in order to access the Droplet. The authentication method can be chosen based off of preference, but the easiest way to access a Droplet is by setting a password for the “root” user. This way, the console can be accessed through the Droplet’s dashboard and there won’t be a hassle of adding SSH keys to certain machines. Select either option, as seen below:
 |
|---|
Recommended Options
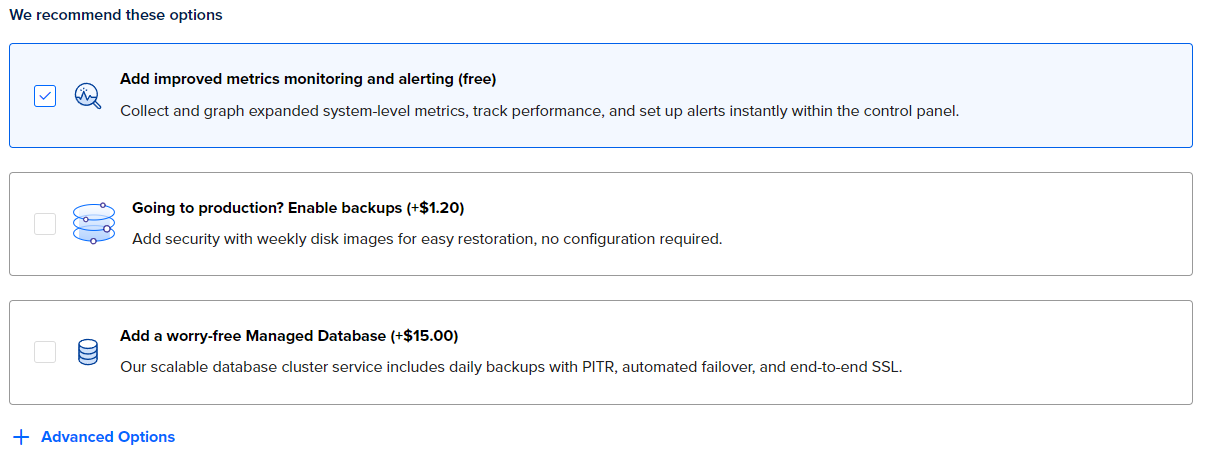
Though the following options are recommended, they are not required. However, since the “Add improved metrics monitoring and alerting” option is free and provides the ability to collect and graph expanded system-level metrics, track performance, and set up alerts instantly within the control panel, go ahead and select it as seen here:
 |
|---|
Finalize
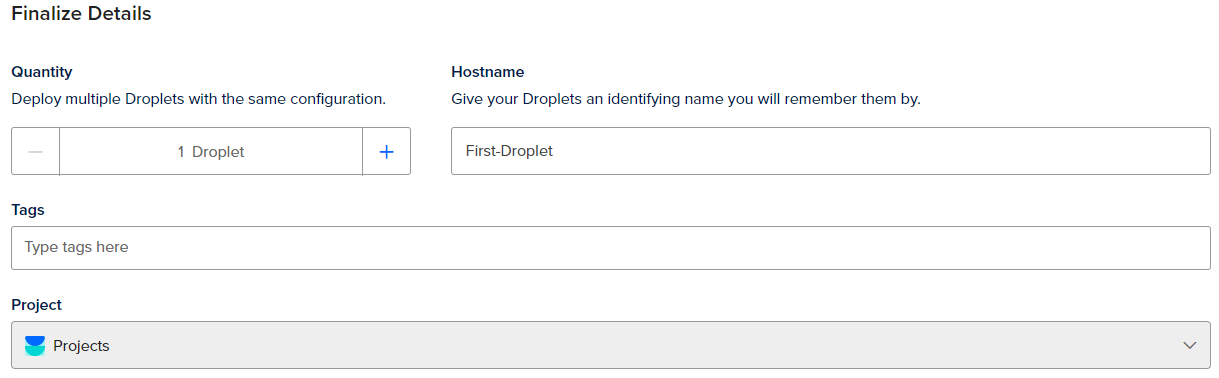
To complete the creation of the Droplet, go to the “Finalize Details” section (seen below) and select the number of Droplets you wish to create, give each of them a name (either automatically generated or user-specified), and select which project to assign the Droplet(s) to.
 |
|---|
Once this section is filled out, hit the “Create Droplet” button in the bottom right, as pictured here:
 |
|---|
*Note: You may create the Droplet via Command Line, however, it is easier to do so by the method above.
Conclusion
Your Droplet is now created and ready to be used. To view the newly created Droplet, click on the project you’ve assigned it to in the top left of the dashboard page under the “Projects” dropdown, then select the Droplet from the list of them on the project’s dashboard. There, you will find all of the information regarding the new Droplet.
For information on how to access the Droplet’s console, view its data usage, and more check out the “Managing a Droplet” page.